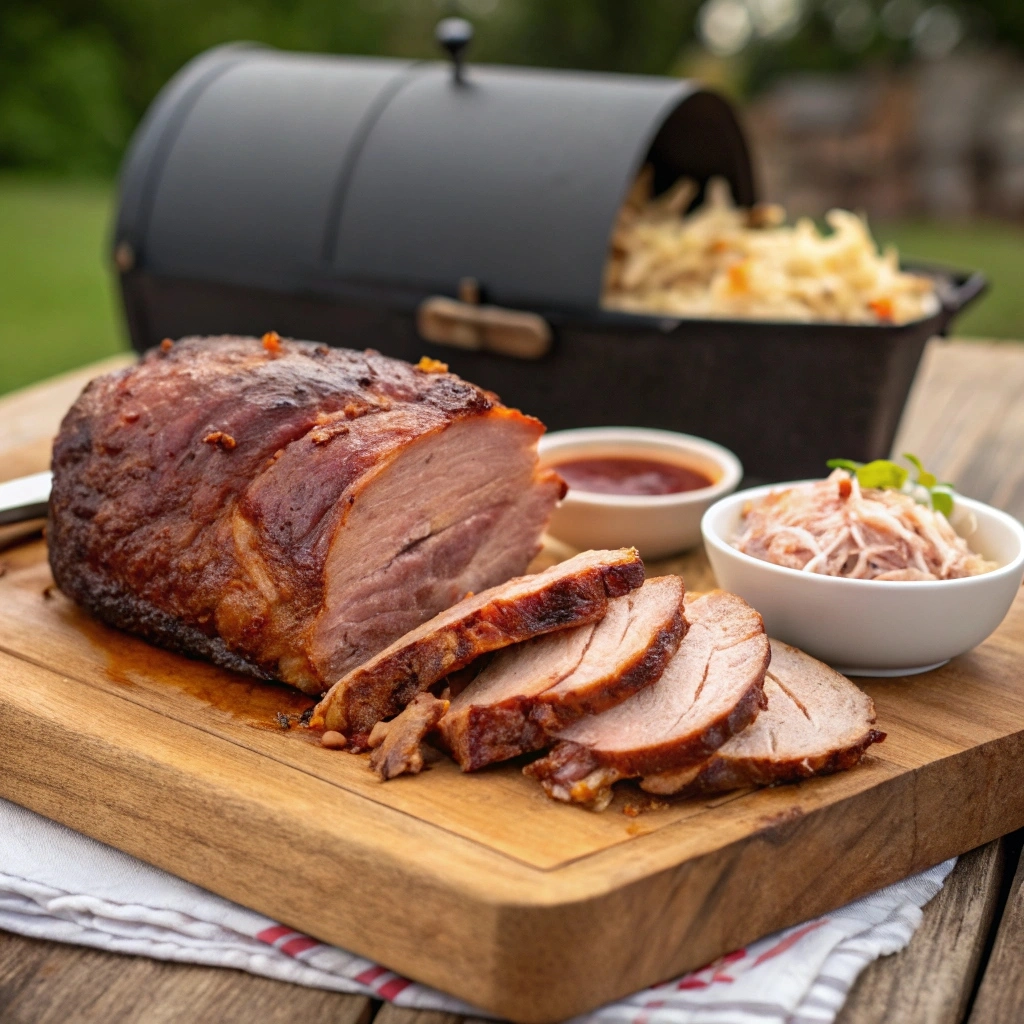
Pellet Smoker Recipes for Beginners: 5 Foolproof Dishes to Try
Pellet Smoker Recipes for Beginners is perfect for anyone new to the world of pellet smoking. If you’ve recently joined this flavorful journey, congratulations—you’re about to unlock a whole new level of taste and convenience in your BBQ game! Pellet smokers are the ideal choice for beginners, combining the ease of a set-it-and-forget-it appliance with the deep, smoky flavors of traditional barbecue.
Whether you’re craving tender pulled pork, juicy smoked chicken wings, flavorful smoked salmon, or even creamy mac and cheese, these beginner-friendly pellet smoker recipes will help you create restaurant-quality dishes right in your backyard.
But where should you start? With so many choices, finding the best Pellet Smoker Recipes for Beginners can feel overwhelming. That’s why we’ve created this easy-to-follow guide featuring five foolproof smoked recipes. Each dish requires minimal prep, delivers incredible results, and will help you build confidence in your smoking technique.
Plus, we’ll share expert tips for beginners—from choosing the right wood pellets to mastering smoke control—so you can get the most out of your pellet smoker.
So, fire up your smoker, put on your favorite apron, and let’s dive into these delicious and easy Pellet Smoker Recipes for Beginners. Whether you’re hosting a backyard BBQ or experimenting with new flavors, these smoked recipes will have you smoking like a pro in no time!
Smoked Pulled Pork – A Must-Try Pellet Smoker Recipe for Beginners
(A classic beginner-friendly recipe that’s hard to mess up.)
Ingredients Needed for Smoked Pulled Pork in a Pellet Smoker
- 1 pork shoulder (Boston butt): 6-8 pounds (bone-in for extra flavor).
- Dry rub:
- 1/4 cup brown sugar
- 2 tablespoons paprika
- 1 tablespoon garlic powder
- 1 tablespoon onion powder
- 1 tablespoon salt
- 1 tablespoon black pepper
- 1 teaspoon cayenne pepper (optional, for a little kick).
- Applewood or hickory wood pellets: These sweet and smoky flavors pair perfectly with pork.
- Apple juice (for spritzing): Keeps the meat moist during the long smoking process.
Step-by-Step Instructions for Smoking Pulled Pork Like a Pro
1. Prep the Pork Shoulder
- Pat the pork shoulder dry with paper towels. This helps the dry rub stick better.
- Trim excess fat if needed, but leave a thin layer to keep the meat moist during smoking.
- Generously apply the dry rub to all sides of the pork shoulder, pressing it into the meat to ensure it adheres well.
- Let it sit at room temperature for 30 minutes while you preheat the smoker.
2. Preheat the Pellet Smoker
- Set your pellet smoker to 225°F and allow it to preheat.
- Use applewood or hickory pellets for a sweet, smoky flavor that complements the pork.
3. Smoke the Pork Shoulder
- Place the pork shoulder directly on the grill grates, fat side up. This allows the fat to render down and baste the meat as it cooks.
- Insert a meat thermometer into the thickest part of the pork (avoiding the bone) to monitor the internal temperature.
- Smoke the pork for 8-10 hours, or until the internal temperature reaches 195-205°F. This low-and-slow process breaks down the tough connective tissue, resulting in tender, pull-apart meat.
4. Spritz for Moisture
- Every hour, open the smoker and spritz the pork with apple juice using a spray bottle.
- This adds moisture and enhances the flavor.
5. Wrap and Rest (Optional)
- If the pork starts to darken too much, you can wrap it in butcher paper or aluminum foil during the last few hours of cooking.
- This helps retain moisture and speeds up the cooking process slightly.
- Once the pork reaches the desired internal temperature, remove it from the smoker and wrap it in foil.
- Let it rest for at least 1 hour. Resting allows the juices to redistribute, making the meat even more tender.
6. Shred and Serve
- Use two forks or meat claws to shred the pork shoulder.
- Discard any large pieces of fat or bone.
- Serve the pulled pork on buns with your favorite BBQ sauce, coleslaw, and pickles for a classic BBQ sandwich.
Tips for Perfectly Smoked Pulled Pork on a Pellet Grill
- Use a Meat Thermometer: Smoking is all about temperature control. A reliable meat thermometer ensures you don’t undercook or overcook the pork.
- Don’t Rush the Process: Low and slow is the key to tender pulled pork. Plan for a full day of smoking to achieve the best results.
- Experiment with Wood Pellets: While applewood and hickory are classic choices, you can try cherry or pecan pellets for a different flavor profile.
- Save the Juices: After shredding, mix some of the rendered juices back into the pork for extra moisture and flavor.
- Make Ahead: Pulled pork reheats beautifully and tastes even better the next day. Store leftovers in an airtight container in the fridge for up to 3 days or freeze for longer storage.
Serving Suggestions for Smoked Pulled Pork Dishes
- Classic BBQ Sandwich: Pile the pulled pork onto buns and top with coleslaw and pickles.
- Tacos or Nachos: Use the smoked pork as a filling for tacos or as a topping for loaded nachos.
- Loaded Baked Potatoes: Serve the pulled pork over baked potatoes with cheese, sour cream, and chives.
- Pulled Pork Pizza: Use it as a topping for homemade BBQ pizza.
Why This Recipe is Perfect for Beginners
Smoked pulled pork is ideal for beginners because it’s forgiving, simple, and delivers incredible results every time. The high fat content of pork shoulder ensures it stays juicy, even if you make a few mistakes. With minimal prep—just a dry rub and a set-it-and-forget-it approach—you’ll learn essential smoking skills while creating a crowd-pleasing dish. Plus, it’s a great foundation for experimenting with flavors and techniques as you grow your BBQ confidence.
Smoked Chicken Wings – Easy Pellet Smoker Recipe for Beginners
(A quick and easy recipe perfect for beginners.)
Smoked chicken wings are a crowd-pleaser and one of the easiest recipes to master on a pellet smoker. They’re perfect for game day, backyard BBQs, or even a quick weeknight dinner. The low-and-slow smoking process infuses the wings with incredible flavor, while a quick finish on high heat gives them that crispy skin everyone loves. Plus, they’re incredibly versatile—toss them in your favorite sauce, or enjoy them as-is for a smoky, savory treat.
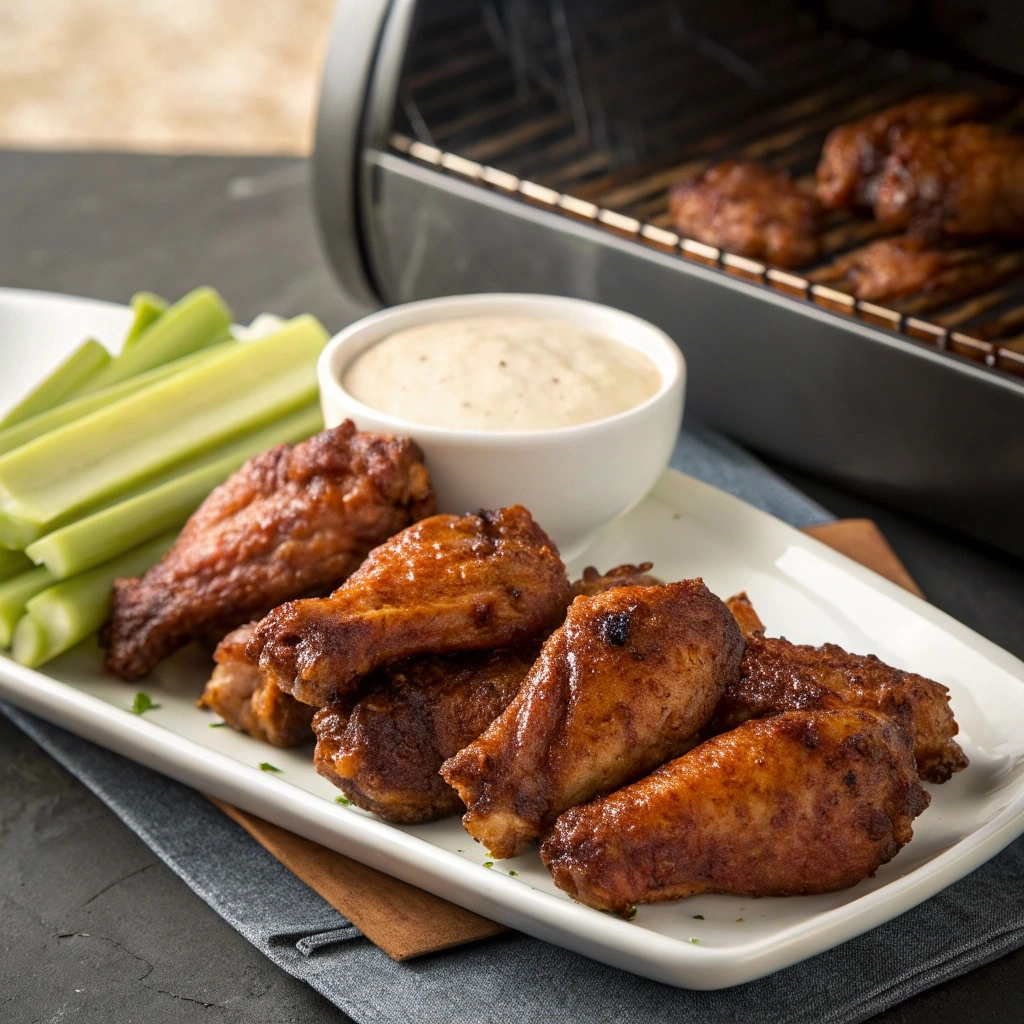
Ingredients for Crispy Smoked Chicken Wings on a Pellet Smoker
- 2-3 pounds of chicken wings: You can use whole wings or pre-cut wingettes and drumettes.
- 2 tablespoons olive oil: Helps the seasoning stick to the wings.
- 1 tablespoon salt: Enhances the natural flavor of the chicken.
- 1 tablespoon black pepper: Adds a little kick.
- 1 tablespoon garlic powder: For a savory, aromatic touch.
- 1 tablespoon paprika: Adds color and a subtle smokiness.
- Optional BBQ rub: Use your favorite store-bought or homemade rub for extra flavor.
- Cherry or pecan wood pellets: These mild, sweet wood flavors pair perfectly with chicken.
- Optional sauce for tossing: BBQ sauce, buffalo sauce, or honey garlic sauce.
How to Smoke Chicken Wings for the Best Flavor
- Prep the Chicken Wings:
- Pat the wings dry with paper towels. This helps the seasoning adhere better and ensures crispy skin.
- In a large bowl, toss the wings with olive oil until evenly coated.
- Sprinkle the salt, pepper, garlic powder, and paprika (or your favorite BBQ rub) over the wings. Mix well to ensure every wing is seasoned evenly.
- Preheat the Pellet Smoker:
- Set your pellet smoker to 250°F and allow it to preheat. Use cherry or pecan wood pellets for a mild, sweet smoke flavor that complements the chicken without overpowering it.
- Smoke the Wings:
- Arrange the wings in a single layer on the grill grates, leaving a little space between each one for proper airflow.
- Close the lid and let the wings smoke for 1.5 to 2 hours. This low-temperature smoking process infuses the wings with flavor while keeping them juicy.
- Crisp Up the Skin (Optional):
- If you prefer crispy skin, increase the pellet smoker temperature to 400°F or transfer the wings to a preheated grill or oven for 5-10 minutes. This step is optional but highly recommended for that perfect texture.
- Toss in Sauce (Optional):
- If you’re saucing your wings, place them in a large bowl and toss them with your favorite sauce (e.g., BBQ, buffalo, or honey garlic) until evenly coated.
- Serve and Enjoy:
- Serve the wings hot with your favorite dipping sauces (ranch, blue cheese, or extra BBQ sauce) and sides like celery sticks, carrot sticks, or coleslaw.
Expert Tips for Smoking Chicken Wings on a Pellet Grill
- Dry the Wings Thoroughly: Moisture is the enemy of crispy skin. Patting the wings dry before seasoning is a crucial step.
- Don’t Overcrowd the Smoker: Leave space between the wings to ensure even smoking and crispiness.
- Use a Meat Thermometer: Chicken is safe to eat at an internal temperature of 165°F. Use a thermometer to check for doneness if you’re unsure.
- Experiment with Flavors: Try different wood pellets (like applewood or hickory) or seasoning blends to customize the flavor.
- Make Extra: Smoked wings reheat well and make great leftovers. Store them in an airtight container in the fridge for up to 3 days.
Serving Ideas for Smoked Chicken Wings
- Classic Buffalo Wings: Toss the smoked wings in buffalo sauce and serve with blue cheese dressing and celery sticks.
- BBQ Wings: Coat the wings in your favorite BBQ sauce for a sweet and smoky flavor.
- Dry-Rub Wings: Skip the sauce and serve the wings with a side of dry rub for dipping.
- Appetizer Platter: Pair the wings with other smoked snacks like smoked jalapeño poppers or smoked mac and cheese bites.
- Meal Upgrade: Serve the wings as a main dish with sides like cornbread, baked beans, or a fresh garden salad.
Why This Recipe is Perfect for Beginners
Smoked chicken wings are ideal for beginners because they’re quick, easy, and nearly foolproof. Unlike larger cuts of meat that require hours of smoking, wings cook relatively fast, so you won’t have to wait all day to enjoy the results. The smoking process is simple—just season, smoke, and serve—and the optional crisping step allows you to customize the texture to your liking.
Plus, wings are incredibly versatile. Whether you prefer them saucy, dry-rubbed, or plain, this recipe gives you the freedom to experiment and find your favorite flavor combination. It’s a great way to build confidence with your pellet smoker while impressing your friends and family with a delicious, smoky treat.
Smoked Salmon – A Simple Pellet Smoker Recipe with Rich Flavor
(A healthy and flavorful option for beginners.)
Smoked salmon is a delicious and nutritious dish that’s surprisingly easy to make on a pellet smoker. Whether you’re hosting a brunch, looking for a light dinner option, or just want to try something new, this recipe is a winner. The gentle smoking process infuses the salmon with a delicate smoky flavor, while keeping the fish tender and moist. Plus, it’s a great way to impress your guests with a gourmet dish that requires minimal effort.
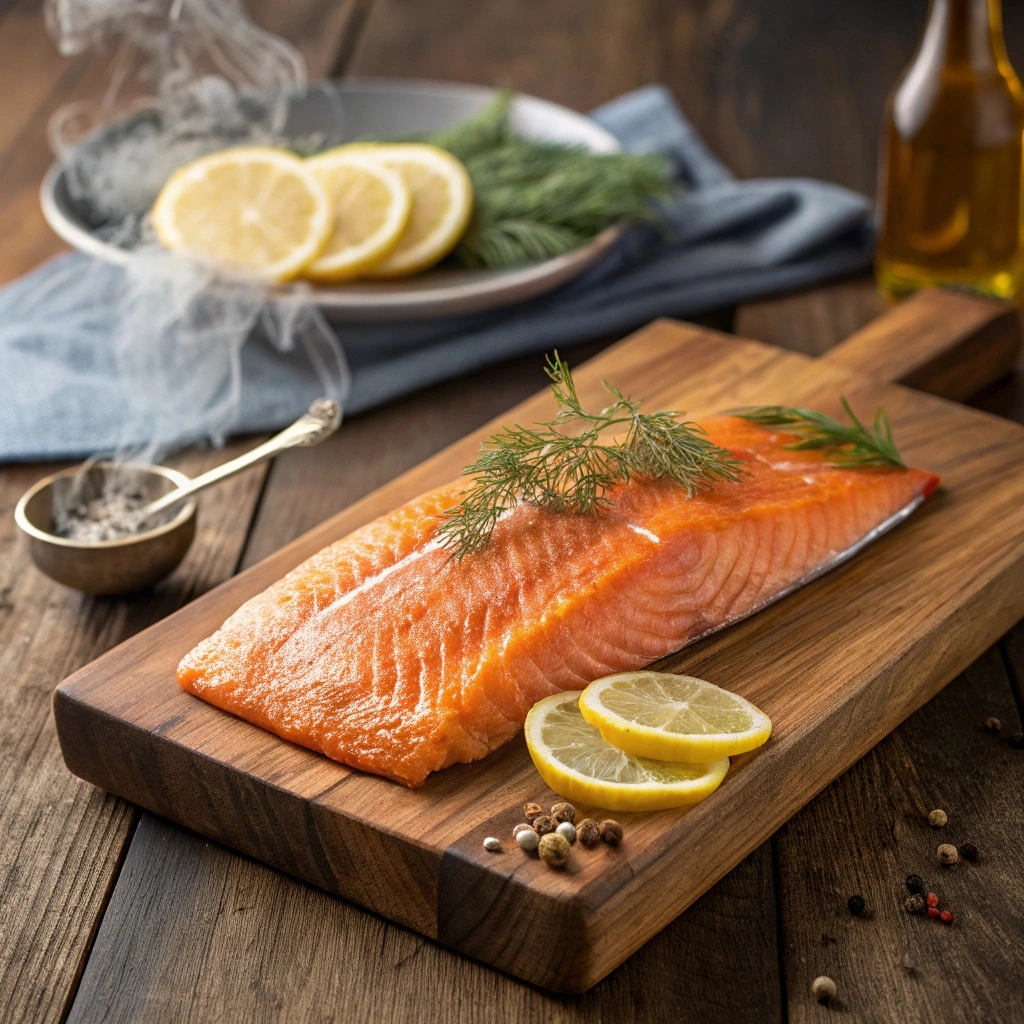
What You Need for Smoked Salmon in a Pellet Smoker
- 1-2 pounds of salmon fillets: Look for fresh, skin-on salmon for the best results.
- 2 tablespoons olive oil: Helps the seasoning stick to the salmon.
- 1 tablespoon salt: Enhances the natural flavor of the fish.
- 1 tablespoon black pepper: Adds a little kick.
- 1 tablespoon fresh dill (or 1 teaspoon dried dill): Complements the salmon’s flavor beautifully.
- 1 lemon (sliced): For garnish and added freshness.
- Alder or maple wood pellets: These mild, sweet wood flavors pair perfectly with salmon.
- Optional glaze: Mix 2 tablespoons honey with 1 tablespoon Dijon mustard for a sweet and tangy glaze.
Easy Step-by-Step Guide to Smoking Salmon Perfectly
- Prep the Salmon:
- Pat the salmon fillets dry with paper towels. This helps the seasoning adhere better and ensures a nice crust.
- Brush the fillets lightly with olive oil on both sides.
- Season the salmon generously with salt, pepper, and dill. If using a glaze, set it aside for later.
- Preheat the Pellet Smoker:
- Set your pellet smoker to 180°F and allow it to preheat. Use alder or maple wood pellets for a mild, sweet smoke flavor that complements the salmon without overpowering it.
- Smoke the Salmon:
- Place the salmon fillets directly on the grill grates, skin-side down. If you’re using a cedar plank, soak it in water for 1-2 hours beforehand, then place the salmon on the plank before putting it in the smoker.
- Close the lid and let the salmon smoke for 1-2 hours, or until the internal temperature reaches 145°F. The low temperature ensures the fish stays tender and doesn’t dry out.
- Add the Glaze (Optional):
- If using a glaze, brush it onto the salmon during the last 30 minutes of smoking. This adds a sweet and tangy finish to the dish.
- Garnish and Serve:
- Remove the salmon from the smoker and let it rest for 5-10 minutes.
- Garnish with fresh lemon slices and additional dill if desired.
- Serve the smoked salmon warm or at room temperature.
Tips for Smoking Salmon Without Drying It Out
- Choose Fresh Salmon: Look for bright, firm fillets with a fresh, ocean-like smell. Avoid fish that looks dull or has a strong fishy odor.
- Don’t Overcook: Salmon is done when it reaches an internal temperature of 145°F and flakes easily with a fork. Overcooking can make it dry.
- Use a Cedar Plank: Smoking salmon on a cedar plank adds an extra layer of flavor and prevents the fish from sticking to the grates.
- Experiment with Flavors: Try different wood pellets (like cherry or applewood) or seasoning blends to customize the flavor.
- Make Ahead: Smoked salmon can be made ahead of time and stored in the fridge for up to 3 days. It’s great for meal prep or entertaining.
Best Side Dishes for Smoked Salmon
- Classic Brunch: Serve the smoked salmon with bagels, cream cheese, capers, and red onion slices.
- Salad Topper: Flake the smoked salmon over a fresh green salad with a lemon vinaigrette.
- Appetizer Platter: Arrange the smoked salmon on a platter with crackers, cheese, and fresh herbs.
- Pasta Dish: Toss the smoked salmon with pasta, cream sauce, and peas for a quick and elegant dinner.
- Eggs Benedict: Use the smoked salmon as a substitute for Canadian bacon in Eggs Benedict.
Why This Recipe is Perfect for Beginners
Smoked salmon is an excellent recipe for beginners because it’s quick, easy, and nearly foolproof. Unlike larger cuts of meat that require hours of smoking, salmon cooks relatively fast, so you won’t have to wait all day to enjoy the results. The smoking process is simple—just season, smoke, and serve—and the gentle heat ensures the fish stays tender and flavorful.
Plus, smoked salmon is incredibly versatile. Whether you serve it as an appetizer, main dish, or brunch item, it’s sure to impress your guests. It’s a great way to build confidence with your pellet smoker while enjoying a healthy and delicious meal.
Smoked Mac and Cheese – The Ultimate Comfort Food on a Pellet Smoker
(A crowd-pleasing side dish that’s easy to make.)
Smoked mac and cheese is the ultimate comfort food with a smoky twist. This dish is perfect for beginners because it’s simple to prepare and almost impossible to mess up. The smoky flavor from the pellet smoker takes this classic side dish to a whole new level, making it a hit at BBQs, potlucks, and family dinners. Plus, it’s incredibly versatile—you can customize it with your favorite cheeses, add-ins, and toppings to make it your own.
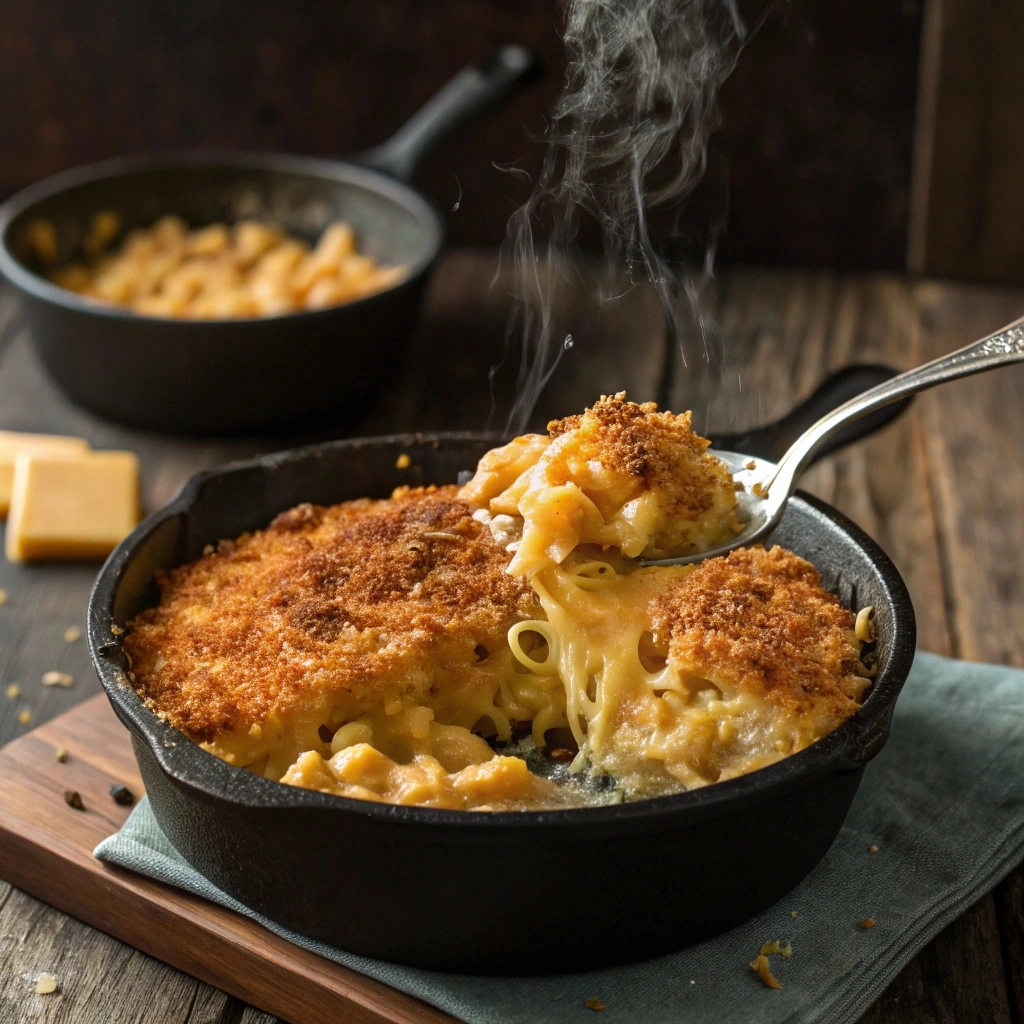
Essential Ingredients for Smoked Mac and Cheese on a Pellet Grill
- 16 ounces elbow macaroni: Cooked al dente according to package instructions.
- 4 tablespoons butter: For the roux.
- 1/4 cup all-purpose flour: To thicken the cheese sauce.
- 2 cups milk: Whole milk works best for a creamy texture.
- 2 cups shredded cheddar cheese: Sharp cheddar adds a rich flavor.
- 1 cup shredded gouda cheese: For a smoky, creamy twist.
- 1/2 cup shredded parmesan cheese: Adds a nutty, salty flavor.
- 1 teaspoon salt: Enhances the overall flavor.
- 1/2 teaspoon black pepper: Adds a little kick.
- 1/2 teaspoon garlic powder: For a savory touch.
- 1/2 teaspoon smoked paprika: Complements the smoky flavor from the pellet smoker.
- 1 cup breadcrumbs (optional): For a crispy topping.
- Hickory or mesquite wood pellets: These bold wood flavors pair perfectly with the creamy cheese sauce.
How to Make the Best Smoked Mac and Cheese – Step by Step
- Cook the Macaroni:
- Cook the elbow macaroni according to the package instructions until al dente. Drain and set aside.
- Make the Cheese Sauce:
- In a large saucepan, melt the butter over medium heat.
- Add the flour and whisk continuously for 1-2 minutes to create a roux.
- Gradually pour in the milk, whisking constantly to avoid lumps.
- Cook the mixture until it thickens and begins to bubble, about 5 minutes.
- Reduce the heat to low and stir in the cheddar, gouda, and parmesan cheeses until melted and smooth.
- Season the sauce with salt, pepper, garlic powder, and smoked paprika.
- Combine the Macaroni and Cheese Sauce:
- In a large bowl, mix the cooked macaroni with the cheese sauce until well coated.
- Transfer the mixture to a cast iron skillet or aluminum foil pan.
- Add the Topping (Optional):
- If using breadcrumbs, sprinkle them evenly over the top of the mac and cheese for a crispy finish.
- Preheat the Pellet Smoker:
- Set your pellet smoker to 225°F and allow it to preheat. Use hickory or mesquite wood pellets for a bold, smoky flavor.
- Smoke the Mac and Cheese:
- Place the skillet or pan in the pellet smoker and close the lid.
- Smoke the mac and cheese for 1 hour, or until the top is golden and bubbly.
- Serve and Enjoy:
- Remove the mac and cheese from the smoker and let it cool for 5-10 minutes before serving.
Secrets to Achieving a Rich, Smoky Mac and Cheese Flavor
- Cook the Pasta Al Dente: The macaroni will continue to cook in the smoker, so it’s important to start with al dente pasta to avoid mushiness.
- Use a Mix of Cheeses: Combining different cheeses (like cheddar, gouda, and parmesan) creates a more complex and flavorful sauce.
- Don’t Overmix: Gently fold the cheese sauce into the macaroni to avoid breaking the pasta.
- Experiment with Add-Ins: Try adding cooked bacon, diced jalapeños, or caramelized onions for extra flavor and texture.
- Make Ahead: Smoked mac and cheese can be prepared ahead of time and reheated in the smoker or oven.
Creative Ways to Serve Smoked Mac and Cheese
- BBQ Side Dish: Serve the smoked mac and cheese alongside pulled pork, brisket, or smoked chicken.
- Main Course: Add cooked shrimp, lobster, or crab meat to turn it into a hearty main dish.
- Potluck Favorite: Bring the smoked mac and cheese to your next potluck or family gathering—it’s sure to be a hit.
- Comfort Food Upgrade: Enjoy it as a comforting side dish with roasted vegetables or a fresh green salad.
Why This Recipe is Perfect for Beginners
Smoked mac and cheese is an excellent recipe for beginners because it’s simple, forgiving, and incredibly rewarding. The cheese sauce is easy to make, and the smoking process adds a depth of flavor that takes this classic dish to the next level. Plus, it’s a great way to practice using your pellet smoker without the pressure of cooking meat.
Whether you’re serving it as a side dish or making it the star of the meal, smoked mac and cheese is sure to impress your family and friends. It’s a comforting, crowd-pleasing dish that’s perfect for any occasion.
Smoked Beef Brisket – A Beginner-Friendly Pellet Smoker Recipe
(A slightly more advanced but foolproof recipe for beginners ready to level up.)
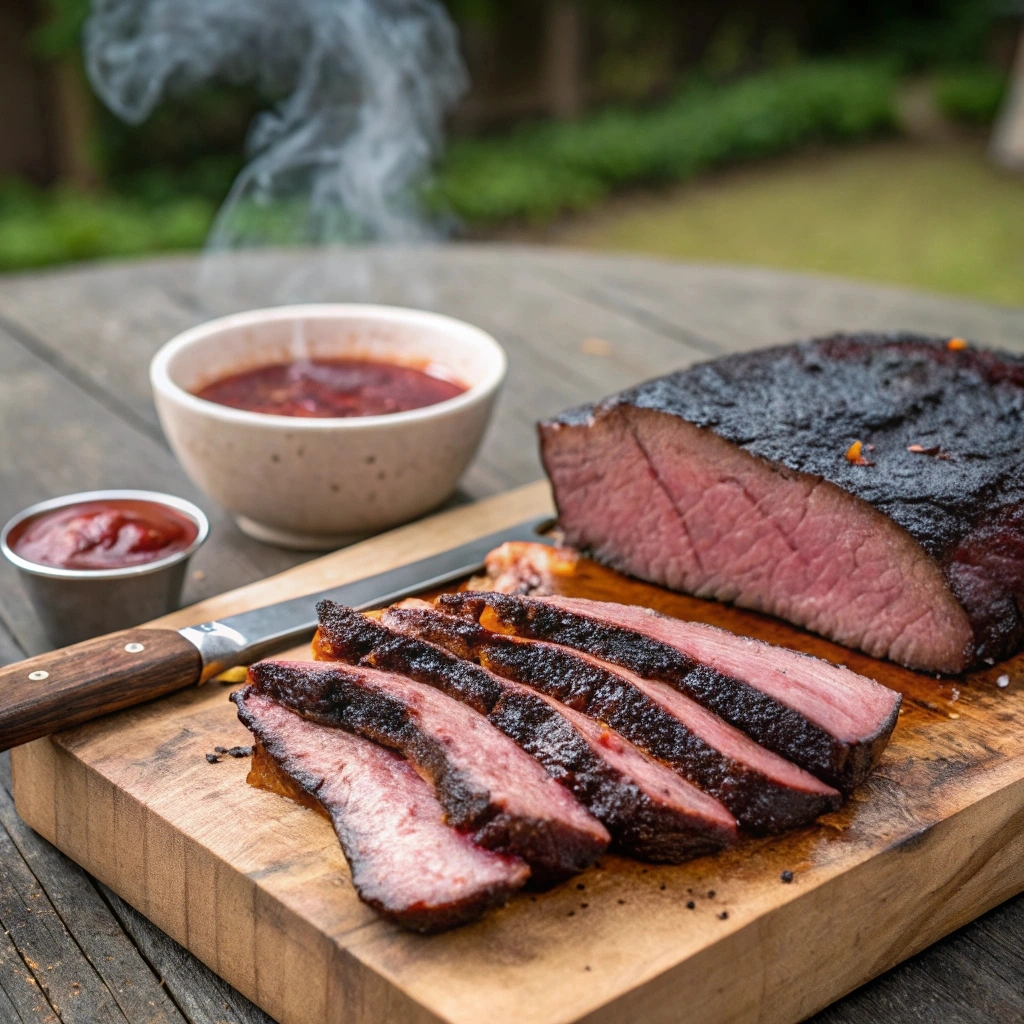
Smoked beef brisket is the crown jewel of BBQ, and while it may seem intimidating, it’s a fantastic recipe for beginners who are ready to take their pellet smoker skills to the next level. With a little patience and the right techniques, you can achieve tender, juicy, and flavorful brisket that rivals your favorite BBQ joint. The key is low-and-slow smoking, which breaks down the tough connective tissue and transforms the brisket into a melt-in-your-mouth masterpiece.
Best Ingredients for a Flavorful Smoked Brisket in a Pellet Smoker
- 1 whole beef brisket (10-12 pounds): Look for a packer brisket with both the flat and point cuts.
- 1/4 cup coarse kosher salt: For the dry rub.
- 1/4 cup coarse black pepper: For the dry rub.
- 2 tablespoons garlic powder: Adds a savory flavor.
- 2 tablespoons onion powder: Complements the beef’s natural richness.
- 1 tablespoon paprika: Adds color and a subtle smokiness.
- Optional: 1-2 tablespoons of your favorite BBQ rub for extra flavor.
- Oak or pecan wood pellets: These bold wood flavors pair perfectly with beef.
- Butcher paper or aluminum foil: For wrapping the brisket during the cook.
Step-by-Step Instructions for Smoking a Tender Beef Brisket
1. Trim the Brisket
- Place the brisket on a cutting board and trim excess fat, leaving about 1/4 inch of fat on the surface. This helps the seasoning penetrate the meat and prevents flare-ups.
- Remove any hard fat or silver skin from the underside of the brisket.
2. Apply the Dry Rub
- In a small bowl, mix salt, pepper, garlic powder, onion powder, and paprika to create the dry rub.
- Generously season the brisket on all sides, pressing the rub into the meat to ensure it sticks.
- Let the brisket sit at room temperature for 30 minutes while you preheat the smoker.
3. Preheat the Pellet Smoker
- Set your pellet smoker to 225°F and allow it to preheat.
- Use oak or pecan wood pellets for a robust, smoky flavor that complements the beef.
4. Smoke the Brisket
- Place the brisket on the grill grates, fat side up, allowing the fat to render down and baste the meat as it cooks.
- Insert a meat thermometer into the thickest part of the brisket (avoiding the fat cap) to monitor the internal temperature.
- Close the lid and let the brisket smoke for 6-8 hours, or until it reaches an internal temperature of 165°F.
- This is known as the “stall”, where the brisket’s internal temperature plateaus as the collagen breaks down.
5. Wrap the Brisket
- Once the brisket reaches 165°F, wrap it tightly in butcher paper or aluminum foil.
- This step, known as the “Texas crutch”, helps the brisket power through the stall and retain moisture.
- Return the wrapped brisket to the smoker and continue cooking until the internal temperature reaches 195-205°F—the ideal range for tender, pull-apart brisket.
6. Rest the Brisket
- Remove the brisket from the smoker and let it rest, still wrapped, for at least 1 hour.
- Resting allows the juices to redistribute throughout the meat, ensuring it stays moist and flavorful.
7. Slice and Serve
- Unwrap the brisket and place it on a cutting board.
- Slice the brisket against the grain into 1/4-inch thick slices for maximum tenderness.
- Serve the brisket with your favorite BBQ sauce, pickles, onions, and white bread for a classic Texas-style meal.
Tips for Success
- Choose the Right Brisket: Look for a brisket with good marbling (fat running through the meat), as this ensures tenderness and flavor.
- Don’t Rush the Process: Low and slow is the key to perfect brisket. Plan for a full day of smoking to achieve the best results.
- Monitor the Temperature: Use a reliable meat thermometer to track the brisket’s internal temperature throughout the cook.
- Let It Rest: Resting the brisket is crucial for juicy, tender meat. Don’t skip this step!
- Save the Juices: After slicing, pour any juices from the wrapping paper over the brisket for extra flavor and moisture.
- Make Ahead: Smoked brisket reheats beautifully and tastes even better the next day. Store leftovers in an airtight container in the fridge for up to 3 days or freeze for longer storage.
Pro Tips for Smoking Brisket Like a Pitmaster
- Classic BBQ Platter: Serve the brisket with coleslaw, baked beans, and cornbread for a traditional BBQ meal.
- Brisket Tacos: Slice the brisket thinly and serve it in tortillas with pickled onions, cilantro, and a squeeze of lime.
- Brisket Sandwich: Pile the sliced brisket onto a bun with BBQ sauce and pickles for a hearty sandwich.
- Loaded Fries: Top french fries with chopped brisket, cheese, and your favorite toppings for a decadent snack.
- Breakfast Hash: Use leftover brisket in a breakfast hash with potatoes, onions, and eggs.
Why This Recipe is Perfect for Beginners Ready to Level Up
While smoked beef brisket requires a bit more time and attention than other recipes, it’s a fantastic way for beginners to challenge themselves and build confidence with their pellet smoker. The process is straightforward—season, smoke, wrap, and rest—and the results are incredibly rewarding.
Plus, brisket is a forgiving cut of meat. Even if you make a few mistakes along the way, the low-and-slow cooking process ensures the brisket will still turn out tender and flavorful. It’s a great way to impress your friends and family with a dish that looks and tastes like it came from a professional BBQ pitmaster.
Bonus Tips for Pellet Smoker Beginners
Using a pellet smoker is one of the easiest and most enjoyable ways to get into smoking and BBQ, but there are a few tips and tricks that can make your experience even better. Whether you’re just starting out or looking to refine your skills, these bonus tips will help you master your pellet smoker and create delicious, smoky dishes every time.
Choosing the Right Wood Pellets
The type of wood pellets you use can significantly impact the flavor of your food. Here’s a quick guide to help you choose:
- Hickory: Bold and smoky, perfect for pork, beef, and game meats.
- Applewood: Sweet and mild, ideal for poultry, pork, and fish.
- Cherry: Fruity and slightly sweet, great for chicken, turkey, and ham.
- Mesquite: Strong and earthy, best for beef and hearty meats (use sparingly).
- Pecan: Nutty and rich, a versatile option for almost any meat.
- Alder: Light and delicate, perfect for fish and seafood.
Pro Tip: Experiment with blending different wood pellets to create unique flavor profiles. For example, mix hickory and applewood for a balanced smoky-sweet flavor.
Maintaining Your Pellet Smoker
Proper maintenance ensures your pellet smoker performs well and lasts for years. Here’s how to keep it in top shape:
- Clean the Grill Grates: After each use, brush the grates with a grill brush to remove food residue.
- Empty the Ash Tray: Regularly empty the ash tray to prevent buildup, which can affect airflow and temperature control.
- Check the Pellet Hopper: Before each cook, make sure the hopper is filled with enough pellets to avoid running out mid-cook.
- Inspect the Auger: Ensure the auger is free of debris or pellet dust to prevent jams.
- Cover Your Smoker: Use a weatherproof cover to protect your pellet smoker from the elements when not in use.
Pro Tip: Deep clean your pellet smoker every few months by vacuuming out the fire pot and inspecting the internal components.
Essential Tools for Beginner Smokers
Having the right tools on hand makes smoking easier and more enjoyable. Here’s what you’ll need:
- Meat Thermometer: A reliable thermometer ensures your meat is cooked to the perfect temperature.
- Pellet Smoker Gloves: Heat-resistant gloves protect your hands when handling hot grates or meat.
- Grill Brush: Keeps your grates clean and prevents food from sticking.
- Pellet Storage Container: Store your wood pellets in an airtight container to keep them dry and fresh.
- Spray Bottle: Fill it with apple juice, vinegar, or water to spritz your meat and keep it moist during long cooks.
- Butcher Paper or Aluminum Foil: Essential for wrapping meats like brisket or ribs during the cooking process.
Pro Tip: Invest in a dual-probe thermometer to monitor both the internal temperature of your meat and the smoker’s ambient temperature.
Mastering Temperature Control in Pellet Smoker Recipes for Beginners
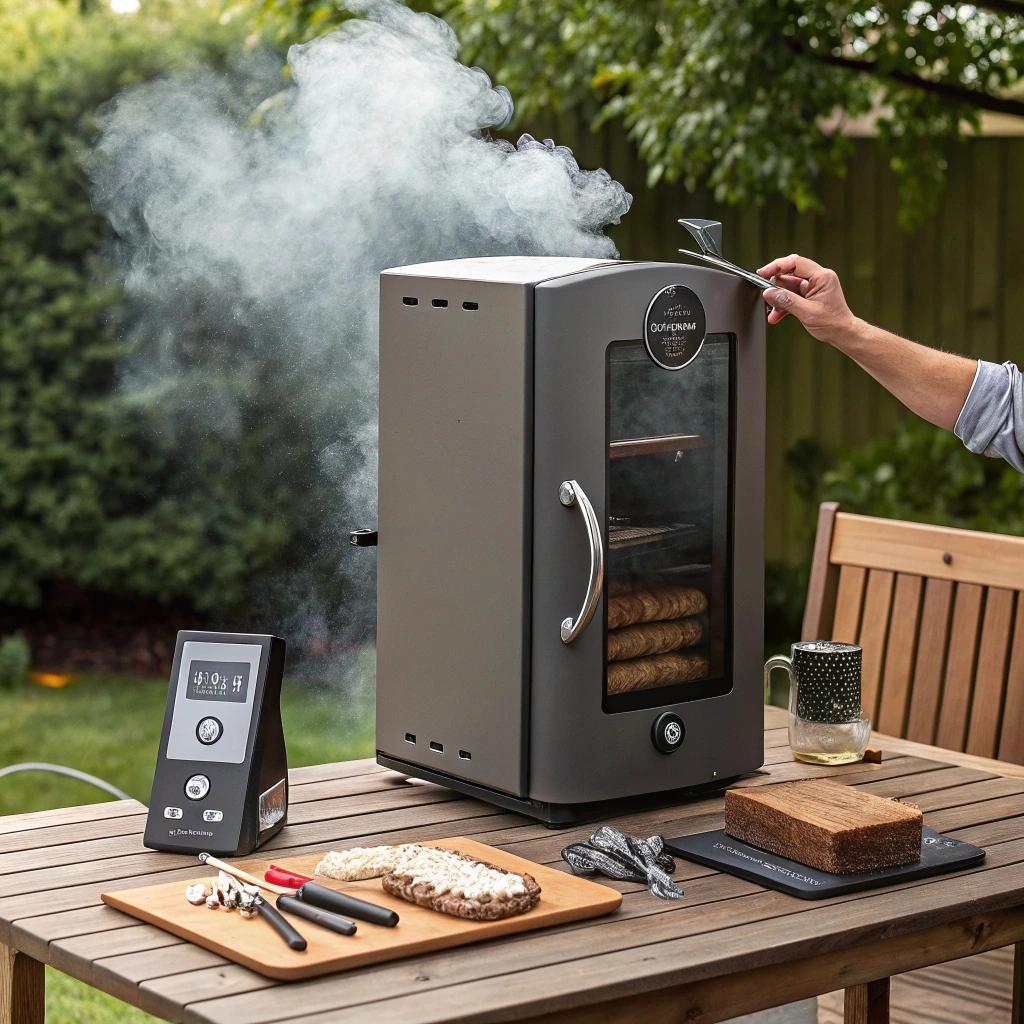
One of the biggest advantages of a pellet smoker is its precise temperature control. Here’s how to make the most of it:
- Start Low and Slow: For most meats, start at a low temperature (180-225°F) to infuse maximum smoke flavor.
- Adjust as Needed: Increase the temperature for faster cooking or to crisp up the exterior of your meat.
- Avoid Opening the Lid: Every time you open the lid, heat and smoke escape, which can extend cooking time. Only open it when necessary.
- Use a Water Pan: Placing a water pan in the smoker helps regulate humidity and keeps your meat moist.
Pro Tip: If your pellet smoker has a “smoke” setting, use it for the first hour or two of cooking to maximize smoke flavor.
Experimenting with Flavors in Beginner-Friendly Pellet Smoker Recipes
Don’t be afraid to get creative with your pellet smoker! Here are some ideas to inspire you:
- Smoked Desserts: Try smoking fruits like peaches or pineapples, or even desserts like cheesecake or brownies.
- Smoked Appetizers: Smoke snacks like nuts, cheese, or even deviled eggs for a unique twist.
- Vegetarian Options: Smoke vegetables like mushrooms, bell peppers, or eggplant for a smoky, meat-free dish.
- Global Flavors: Experiment with different spices and marinades to create dishes inspired by cuisines from around the world.
Pro Tip: Keep a smoking journal to track your recipes, techniques, and results. This helps you learn what works best for your tastes and equipment.
Troubleshooting Common Issues in Pellet Smoker Cooking for Beginners
Even with a pellet smoker, you might run into a few challenges. Here’s how to handle them:
- Temperature Fluctuations: Ensure the smoker is clean and the pellets are dry. Check for drafts or wind that might affect the temperature.
- Pellet Jams: Use high-quality pellets and avoid overfilling the hopper. Clean the auger regularly to prevent jams.
- Insufficient Smoke Flavor: Use the “smoke” setting or add a smoke tube for extra smoke during the cook.
- Dry Meat: Spritz your meat regularly with liquid (e.g., apple juice or broth) and wrap it during the cooking process to retain moisture.
Pro Tip: Join online forums or social media groups dedicated to pellet smoking. You’ll find a wealth of tips, recipes, and support from fellow enthusiasts.
Practice Makes Perfect: Mastering Pellet Smoker Recipes as a Beginner
The more you use your pellet smoker, the more confident you’ll become. Start with simple recipes like smoked chicken wings or pulled pork, and gradually work your way up to more challenging dishes like brisket or ribs. Don’t be discouraged by mistakes—every cook is an opportunity to learn and improve.
Pro Tip: Host a BBQ party to showcase your skills and get feedback from friends and family. It’s a fun way to practice and share your love of smoking!
Conclusion: Pellet Smoker Recipes for Beginners
Congratulations! You’ve just taken your first steps into the exciting world of pellet smoking, and there’s no turning back. With these 5 foolproof Pellet Smoker Recipes for Beginners, you’re now equipped to create mouthwatering, smoky dishes that will impress your family and friends. From tender pulled pork and crispy smoked chicken wings to flavorful smoked salmon and creamy mac and cheese, these beginner-friendly pellet smoker recipes are designed to build your confidence and help you master your smoker with ease.
Remember, great BBQ comes with patience, practice, and a willingness to experiment. Don’t hesitate to try new flavors, techniques, and smoked recipes—every cook is an opportunity to learn and improve. And with the bonus tips for beginners we’ve shared, you’ll have everything you need, from choosing the right wood pellets to troubleshooting common smoker issues.
So, fire up your pellet smoker, put on your apron, and start smoking! Whether you’re hosting a backyard BBQ, preparing a weeknight dinner, or simply exploring new smoked flavors, these Pellet Smoker Recipes for Beginners will turn you into a pro in no time.
We’d love to hear about your pellet smoking adventures! Share your results, ask questions, or let us know your favorite smoked recipes in the comments below. Happy smoking!

